How to Build a Merch Bundle Around a Custom T-Shirt
TLDR: To learn how to build a merch bundle around a custom t-shirt, begin with the shirt’s audience, garment, artwork, and decoration method. Then add one or two items that extend the same visual idea or improve the unboxing experience. Prototype the complete bundle, account for every packaging and fulfillment cost, and confirm that required garment information remains available to the buyer.
A strong merch bundle does not feel like a T-shirt surrounded by leftovers. The shirt is the hero product, while every other piece should reinforce its purpose, artwork, or presentation. That might mean a coordinated sticker pack for a creator release, a practical accessory for an event kit, or a printed insert that gives customers a reason to return.
Define the bundle’s job before choosing products
Start by deciding what the bundle is supposed to accomplish. The right package for a limited retail drop is different from the right package for a fundraiser, employee welcome kit, customer gift, convention table, or album release.
| Bundle purpose | What to prioritize | Likely presentation |
|---|---|---|
| Retail or creator drop | A distinctive shirt, collectible add-on, and memorable reveal | Coordinated mailer, tissue, insert, or packaged collectible |
| Event or convention sale | Fast handoff, visible contents, and simple stock control | Compact bag or sleeve with minimal assembly |
| Fundraiser | Clear value, manageable production costs, and easy fulfillment | Straightforward packaging that protects the shirt |
| Employee or team kit | Useful items, consistent presentation, and accurate size distribution | Labeled or individually packed kits |
| Customer gift | Brand recognition without unnecessary clutter | Polished packaging and a concise message insert |
Write a one-sentence brief before requesting quotes. For example: “This is a three-piece launch bundle for online customers who follow our illustrated mascot.” That sentence gives you a filter. If an item does not support the audience, theme, sales channel, or intended experience, leave it out.
Choose the custom T-shirt first
Lock the shirt before adapting artwork to companion products. Decide on garment fit, fabric, weight, color, size range, print location, and decoration process. These choices affect the bundle’s cost, visual hierarchy, packing dimensions, and production schedule.
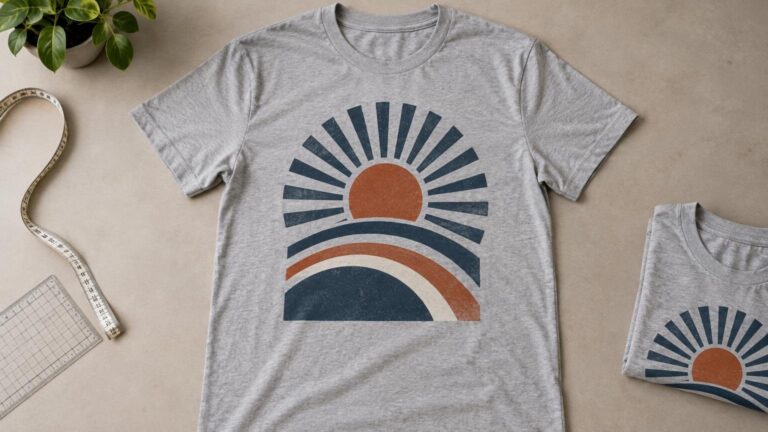
Order or inspect the blank garment whenever possible. A design shown on a digital mockup can feel different once it sits on a real shirt. Seams, collars, pockets, fabric texture, and the usable print area all affect perceived scale. Use front shirt design sizing guidance to establish a starting point, then approve placement on the actual garment and size range.
Choose the decoration process with the artwork and order conditions in mind rather than naming a universal winner. Ask the printer how the proposed method handles the garment’s fiber content, color, stretch, print detail, quantity, and intended use. Also request process-specific care instructions and a physical sample or production proof when the project warrants one.
Dark-garment direct-to-garment production deserves particular attention during sampling. Kornit describes pretreatment as a process used to support white-ink printing and washability, especially on darker garments. That makes the printer’s pretreatment and curing workflow relevant to the finished result, not merely a behind-the-scenes detail.
Build a focused bundle instead of a crowded one
Two to four total pieces, including the shirt, is a useful planning range—not a universal rule. It is enough to create an intentional set without automatically adding excessive cost, packing time, or shipping volume.
A simple framework is to consider three supporting roles:
- A practical or wearable companion, such as a cap, tote, patch, or lanyard when it suits the audience.
- A low-cost collectible, such as a sticker, small print, button, or card featuring secondary artwork.
- An informational or retention piece, such as a thank-you card, care card, event schedule, redemption code, or product story.
You do not need an item from every category. A shirt, sticker pack, and concise insert may be complete. Adding an unrelated bottle, keychain, or tote simply to increase the item count can weaken the design and raise the delivered cost.
Extend one visual system across the bundle
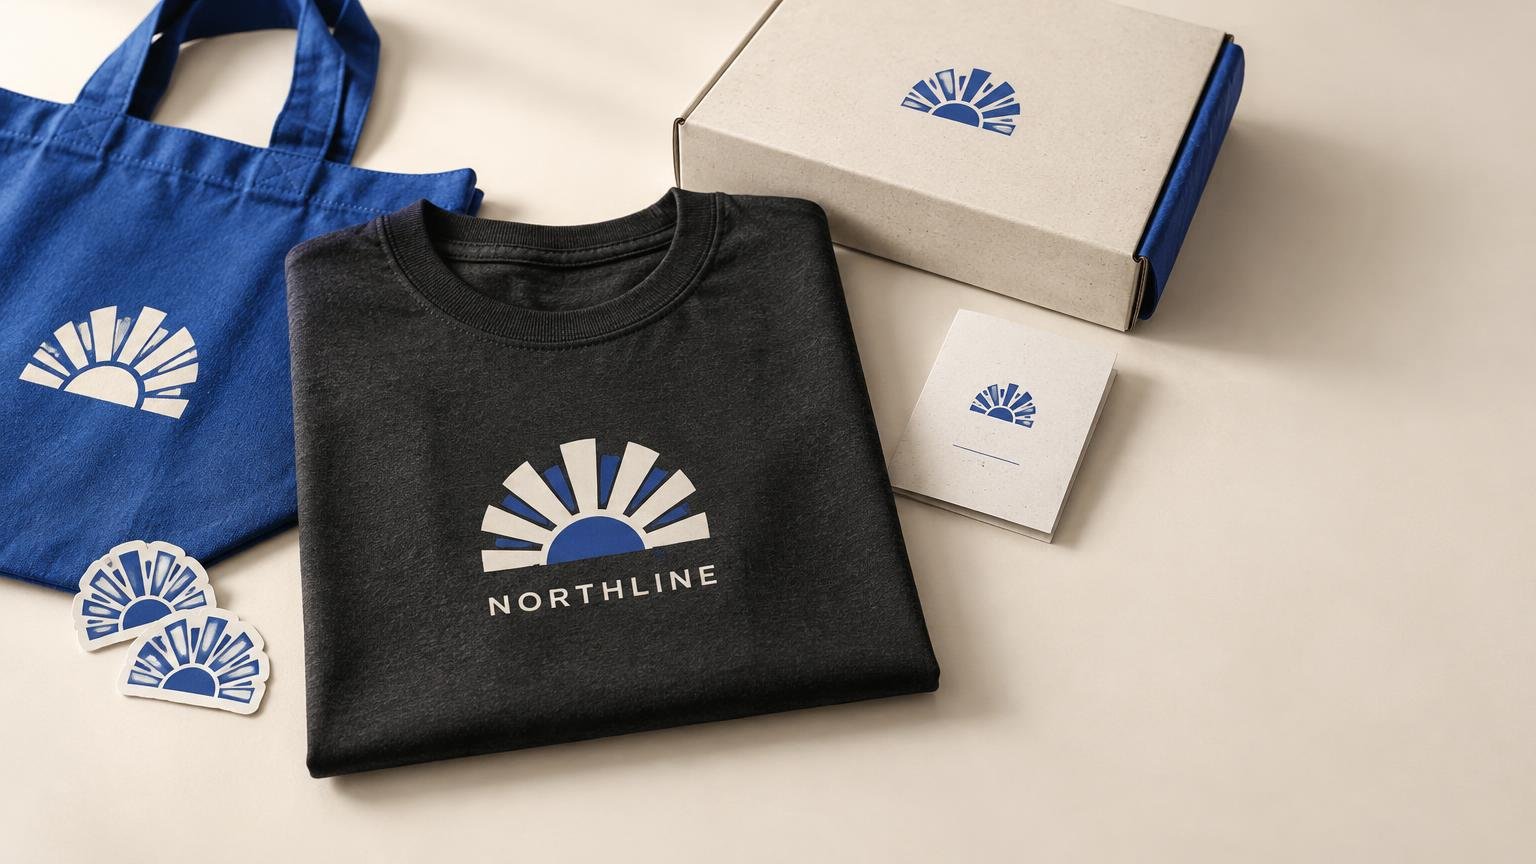
Coordination does not require printing the full shirt graphic on every object. Repetition works better when it is controlled. Treat the shirt as the main canvas, then extract smaller elements for the supporting pieces.
- Use the complete hero illustration on the shirt.
- Turn a mascot, icon, or secondary motif into a collectible.
- Repeat one or two colors across packaging and inserts.
- Use the same type family and spacing rules throughout the set.
- Reserve a short phrase, date, or edition mark for a small detail.
- Simplify fine artwork before moving it to a much smaller format.
This approach creates recognition without making every item look identical. It also helps when different vendors produce the shirt, printed insert, and collectible. Give each supplier the same approved color references and production-ready artwork, but expect output to vary across fabric, paper, vinyl, ink, and display conditions. Review physical samples together rather than judging each component in isolation.
When a sticker pack makes sense
Stickers are a natural companion when the shirt design contains a mascot, emblem, phrase, character, or group of small motifs. They let the customer use parts of the design beyond the garment, and their compact format usually makes them easier to add than another size-dependent wearable.
For a more structured presentation, consider retail-ready custom sticker packs. The supplied product description lists options involving bags, toppers, assembly, header or backer-card presentation, and mixed sticker formats. Confirm the current configuration on the product page before designing packaging around a specific option.
A sticker component is less useful when it has no visual connection to the shirt or when its packaging creates disproportionate labor. Ask whether the artwork remains legible at sticker scale, whether the shape is practical, and whether loose stickers or an assembled pack better fits the sales channel.
Match packaging to the way the bundle is sold
Packaging should protect the bundle and make fulfillment easier. It should not consume the budget or create a box larger than the products require.
Online orders
Prioritize protection, low unnecessary weight, and repeatable packing. Fold the shirt consistently, prevent rigid or sharp add-ons from pressing into the print, and place small pieces where customers will see them instead of accidentally discarding them with the mailer.
Pop-ups and events
Prioritize fast handoff and stock visibility. Staff should be able to identify the shirt size without opening and repacking each kit. A size label on removable outer packaging can reduce mistakes, provided it does not obscure required garment information.
Retail displays
Prioritize how the package sits, hangs, or stacks. If a header card or peg-ready pack is part of the plan, prototype the hole position, weight distribution, barcode area, and visibility of the contents before producing the full run.
Prototype the entire bundle
A shirt proof alone cannot reveal how the finished kit will perform. Assemble at least one complete sample using the intended garment size, add-ons, inserts, protective materials, and shipping container.
- Inspect the shirt’s fit, hand feel, print scale, color, and placement.
- Compare colors across fabric, stickers, inserts, and packaging under the same light.
- Check that small text and secondary artwork remain readable.
- Time the folding, packing, sealing, and labeling steps.
- Measure and weigh the packed shipment using the final materials.
- Shake and handle the package to see whether items shift, bend, or mark one another.
- Have someone unfamiliar with the project open it and note what they see first.
- Document the packing order so another person can reproduce it.
Keep apparel size forecasting separate from universal add-ons. Shirts require a size run; stickers and inserts generally do not. If every bundle receives the same non-apparel pieces, those components can often be planned as a shared quantity, with an allowance for samples, damage, replacements, and packing errors. Base the actual allowance on vendor terms and your fulfillment process rather than an arbitrary percentage.
Price the complete offer, not just the shirt
A bundle can look profitable when only the garment and decoration are counted. Build the price from the complete delivered offer. Include the decorated shirt, companion products, printed inserts, packaging, vendor setup charges, inbound freight, assembly labor, payment fees, shipping supplies, and any promotion or fulfillment expense you expect to absorb.
Also decide how replacements will work. A damaged sticker and a wrong-size shirt create different costs. Record which pieces can be replaced independently and which require sending a complete new bundle.
Avoid setting the retail price by applying an unsupported universal margin. Instead, total the known costs, estimate the labor you control, model likely sales volume, and compare the result with the value the package offers its specific audience. If the required price feels too high, remove a weak component before reducing the quality of the hero shirt.
Check U.S. garment labeling and care information
For U.S. sales, do not assume that decorative packaging replaces garment labeling. The Federal Trade Commission’s apparel-labeling guidance states that most textile and wool products require information including fiber content, country of origin, and the identity of the responsible business.
The FTC also states that its Care Labeling Rule requires care instructions and applies to manufacturers and importers, including businesses that direct or control manufacturing or importing. The exact responsibility depends on the seller’s role and product details. Confirm applicable obligations with the garment supplier and printer, and obtain qualified compliance or legal guidance when needed.
From a practical packaging standpoint, make sure the buyer can still access the garment label and care information. A separate branded care card can reinforce useful instructions, but it should not be treated as a substitute for legally required information without appropriate guidance.
A prelaunch merch-bundle checklist
- Define the bundle’s audience, purpose, sales channel, and target experience.
- Approve the blank garment, decoration method, artwork size, and placement.
- Confirm the size range and size-run quantities separately from universal add-ons.
- Prepare simplified artwork for small companion products.
- Review physical samples from each supplier together.
- Assemble, inspect, measure, and weigh a complete package.
- Confirm current packaging and assembly options with vendors.
- Calculate product, setup, freight, packaging, labor, payment, and fulfillment costs.
- Check that garment labels and applicable care information remain accessible.
- Photograph the actual finished bundle rather than relying only on digital mockups.
- Write a repeatable packing sequence and replacement process.
Build outward from the shirt
The clearest answer to how to build a merch bundle around a custom t-shirt is to make the garment decision first and force every add-on to earn its place. Choose a shirt people will want to wear, adapt its visual system rather than copying it blindly, and package the set for the channel where it will actually be sold.
Before committing to the launch run, put the complete bundle in your hands. If the shirt still feels like the hero, the supporting pieces make sense together, and the packing process is repeatable at the planned price, the bundle is ready for a controlled production order.